How to paint your walls
There are no special tools or materials needed to paint your walls. If you have the tools listed in the essential tools list, you are good to go! Be sure to prepare your room and the walls before getting started. Good preparation is the key to a professional looking finish. You may want to check out the pages that detail how to prepare for painting if you haven’t done so yet :)
Room Prep Wall Prep1.If the walls that you are about to paint have previously been painted with a satin or soft sheen paint, it is a good idea to give them a light sand with some fine sandpaper(120 grit) so that the paint will stick to the surface better. Wash down the surface afterwards.
Sanding
Dragging abrasive paper across a surface repeatedly while apply small amounts of pressure. The courseness/ sandpaper grit depends on the number written on the back of the paper. The lower the number, the coarser the sandpaper is. The higher the number, the finer the sandpaper grit.
2.Ensure that you have masked all trimmings with painter’s tape. Start by alternating between cutting in around the trimmings and rolling sections of wall near to them. It is best to work on small sections at a time. This will aid in keeping a wet edge to blend the paint together. A wet edge refers to the edge of the paint that has just been applied and has not dried yet. Cut in along the edge of the ceiling also.
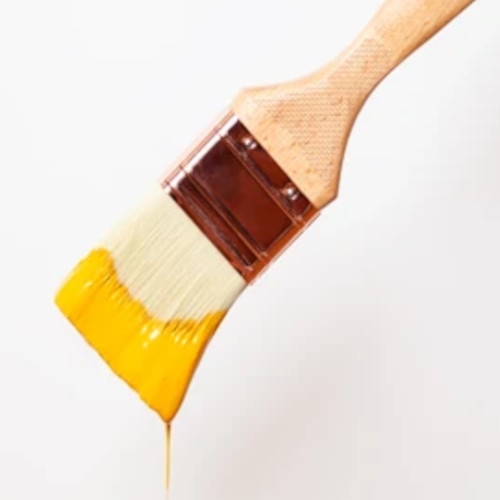
3.Mix the paint and pour some of it into a tray. Dip the tip of the brush into the paint and allow the excess to drip off. Apply paint 2-3 inches outward from the trimmings. Brush upwards and downwards, and then in various directions to blend out the paint.

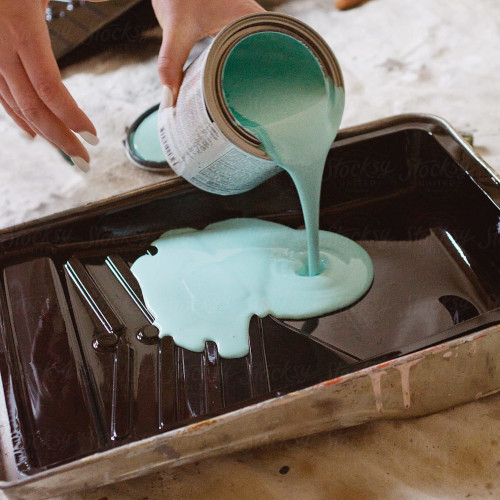

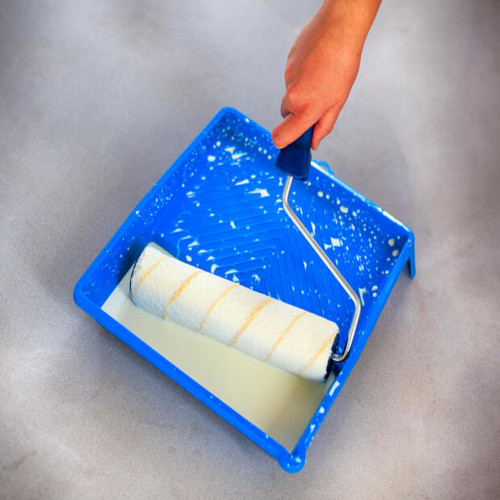
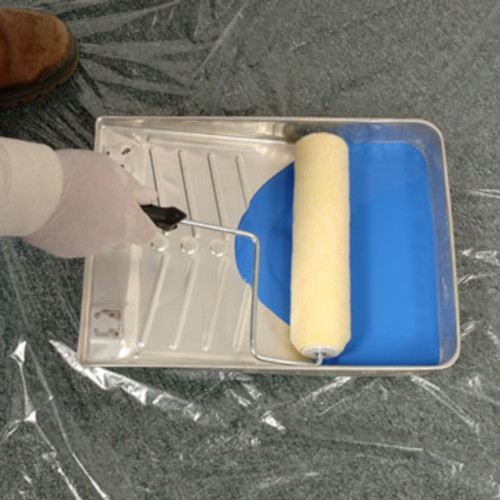
4.Now it is time to roll the secrtion of wall. Add some more paint to the tray. Submerge half of the roller into the paint. Place the wet side of the roller on the upper part of the tray and roll it up and down the tray. Repeat two or three times to ensure that there is enough paint on the roller. Don’t oversaturate it though! If the roller is dripping - this is too much!
Tip
Dampen the roller with some water before rolling it in the paint for the first time. This will help it to soak up as much paint as possible.
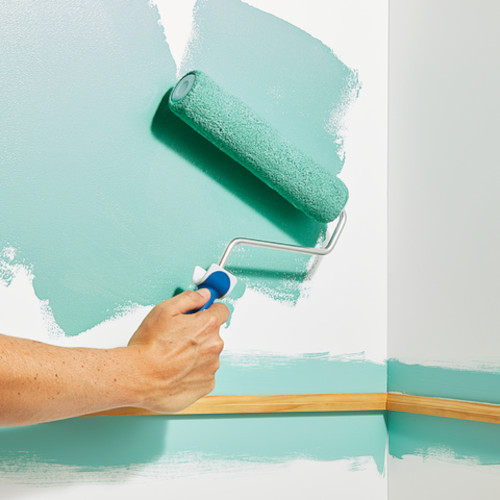
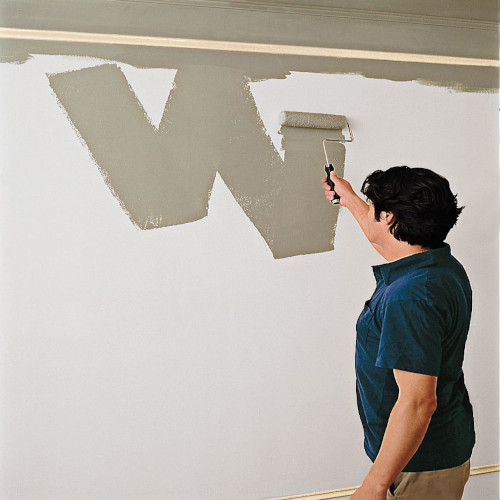
5.Starting at the top of the section, roll in M or W patterns approximately one third of the way down the wall. Overlap the edges. Repeat this on the middle part of the wall, followed by the bottom. Try to roll over some of the paint that was brushed on during the cutting in process. This will help to blend the paint.
6.Alternate these steps, section by section until the whole room has been painted. Allow it to dry according to the manufacturer’s instructions.
7.Two coats will be needed to get an even finish. Follow the same steps as outlined, allow the 2nd coat to dry and you’re done 😊