How to paint a ceiling
Tools
In addition to the essential tools, you will need...
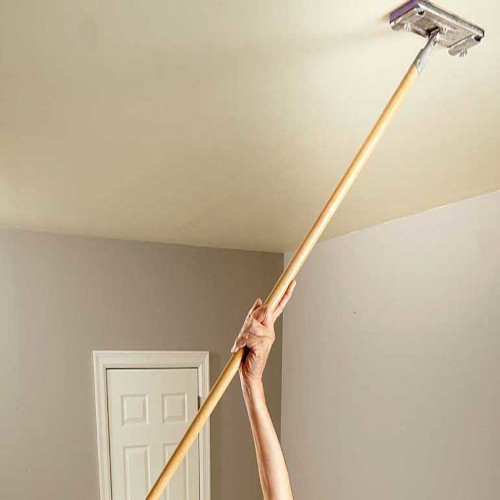
- 1. Sanding pole
- 2. 12-inch lambs wool roller (creates minimum splattering and applies paint more quickly and efficiently)
- 3. Stain blocking primer
1.Before starting anything, prepare the room as outlined on the room preparation page. I would also advise you wear a face mask and goggles as there will be a lot of dust involved in this step! Bumps and cruds can appear on the ceiling over a long period of time. For this reason – it is best to quickly sand the ceiling before you get started. Use a 120-grit sandpaper. Attach it to your sanding pole. Wipe off the dust with a damp cloth.
Sanding
Dragging abrasive paper across a surface repeatedly while apply small amounts of pressure. The courseness/ sandpaper grit depends on the number written on the back of the paper. The lower the number, the coarser the sandpaper is. The higher the number, the finer the sandpaper grit.
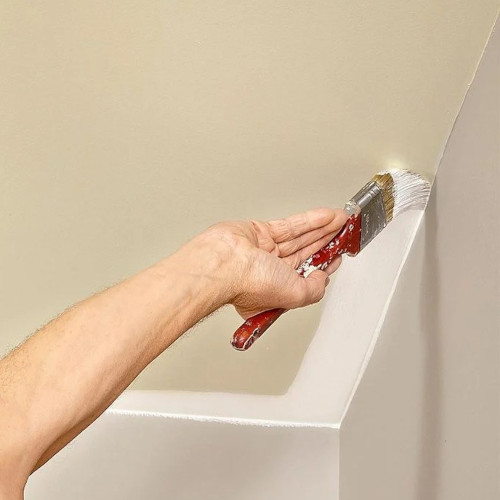
2.Apply painter’s tape along the top of the walls to protect them while painting around the ceiling’s edges. Unlike regular tape, painter’s tape doesn’t pull paint from the surface upon removing it. It also stops liquid from seeping through.
Discoloured patches?
Apply some stain blocking primer to the patches to make them disappear. This will cover the discoloration. Apply primer the same way in which you would apply paint. This is explained below.
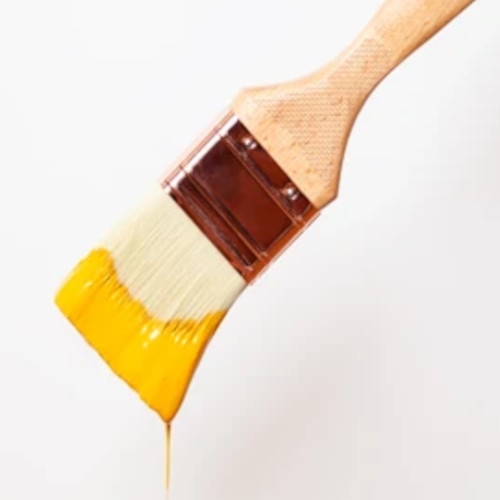
3.Cut in with a 4-inch paintbrush before you start rolling on the paint. You can use a smaller brush if you feel more comfortable. Cut in on a section of approximately 5ft square, then use the roller to cover that rest of that area. Working in sections means that the paint applied while cutting in won’t have dried by the time you start rolling. It is difficult to blend dry and wet paint together. Mix the paint with a paint stirrer and pour some into the tray. Dip the tip of the brush into the paint and allow the excess to drip off. Apply the paint in gentle, sweeping brushstrokes. Don’t apply a thick layer.

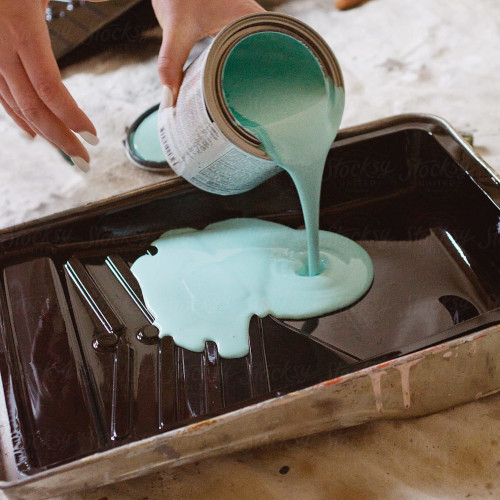
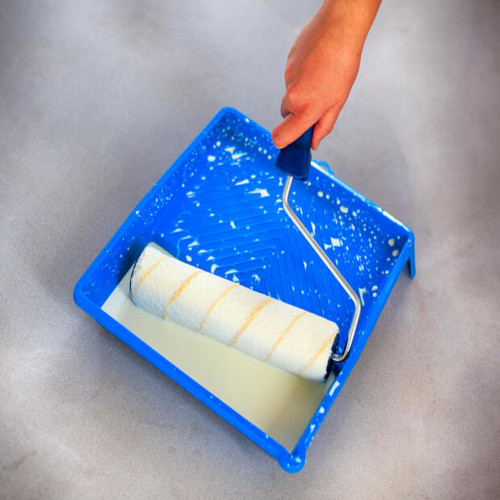
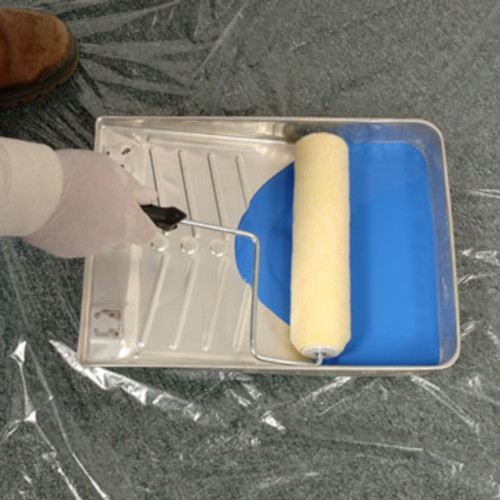
4.After cutting in on the area of 5ft square, it is now time to start rolling. Add some more paint to the tray. Submerge half of the roller into the paint. Place the wet side of the roller on the upper part of the tray and roll it up and down the tray. Repeat two or three times to ensure that there is enough paint on the roller. Don’t oversaturate it though! If the roller is dripping - this is too much!
Tip
Dampen the roller with some water before rolling it in the paint for the first time. This will help it to soak up as much paint as possible.
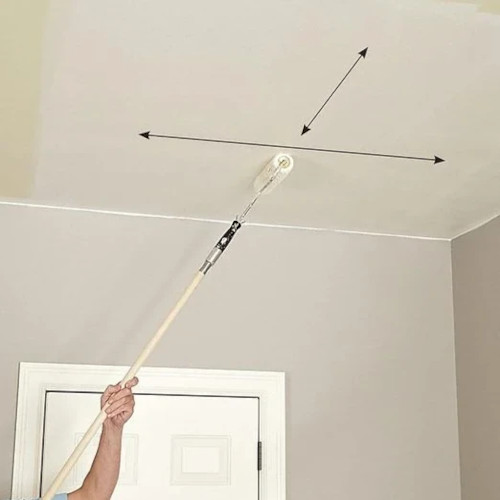
5.Attach the roller to the pole so that you can reach the ceiling. When rolling on the paint, create a zig-zag pattern. Ensure that you apply it quickly to keep a wet edge. A wet edge refers to the edge of the paint that has just been applied and has not dried yet. Applying another lap of paint over a wet edge means that you won’t be able to see the lap marks of the direction you were rolling in once the paint has dried. Immediately re-roll the section at a right angle to the direction that you originally started rolling in. This ensures good coverage and an even finish.
Tip
The first few laps with a new roller will appear a bit patchy, but do not panic! After being rolled in the paint a couple of times, it will start to give an even finish.
6.Once you have completed the whole ceiling, allow it to dry for as long as the paint manufacturer has stated. A second coat is advised, and it is likely that a third coat would be needed if the ceiling has been newly plastered